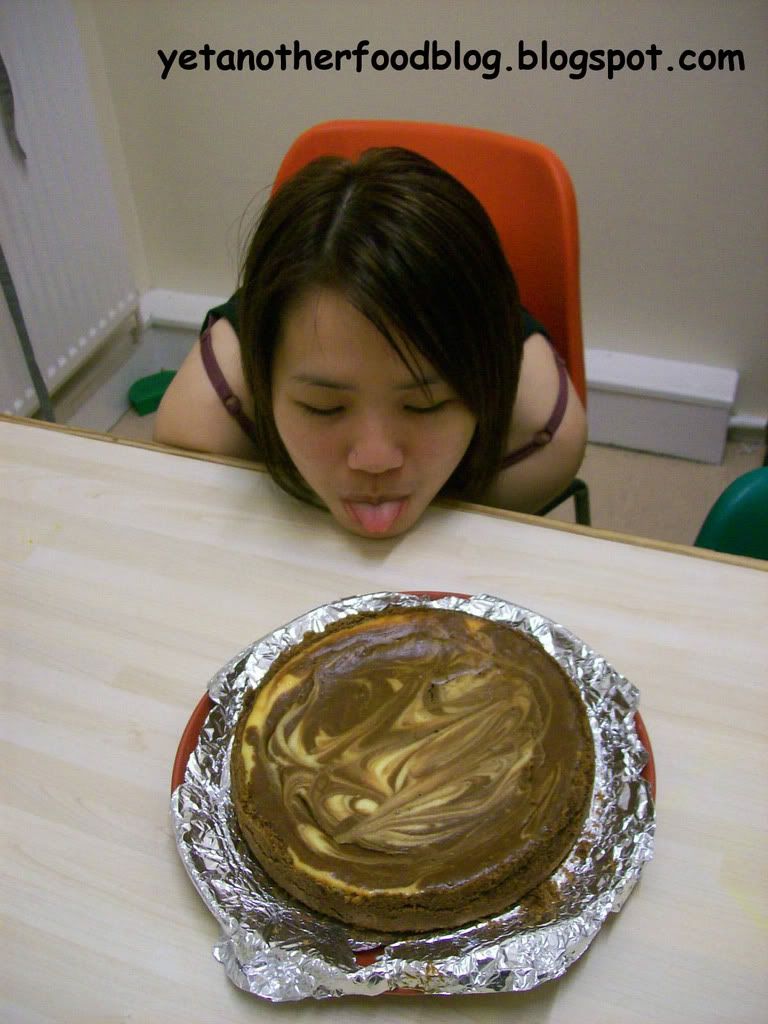
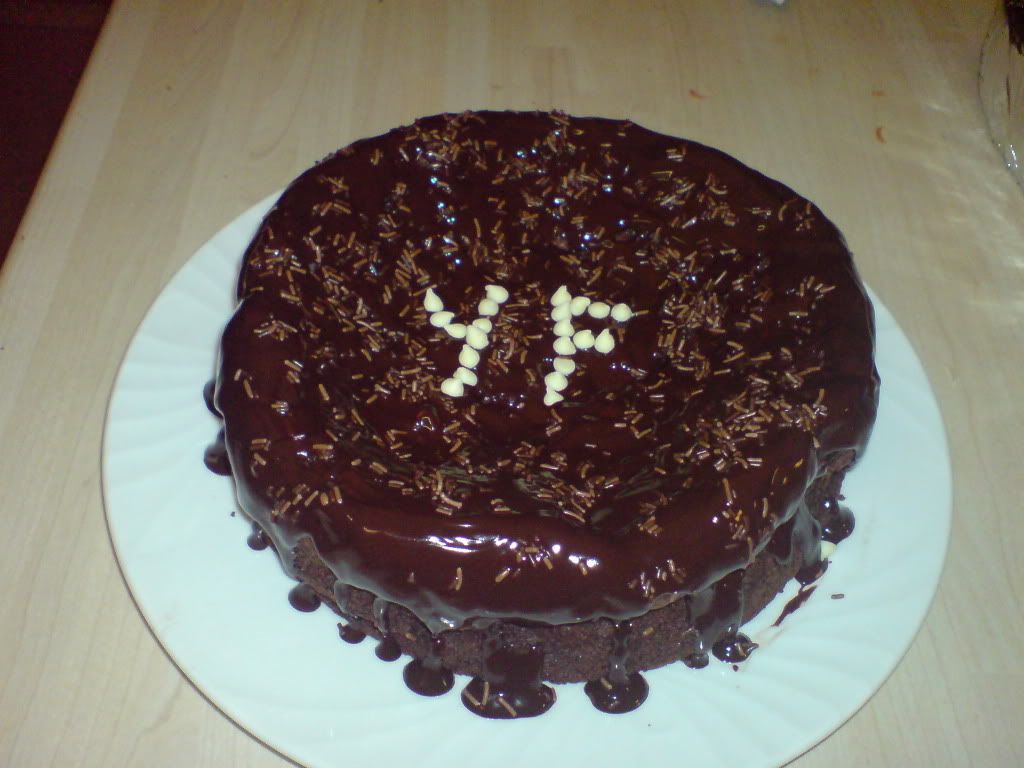
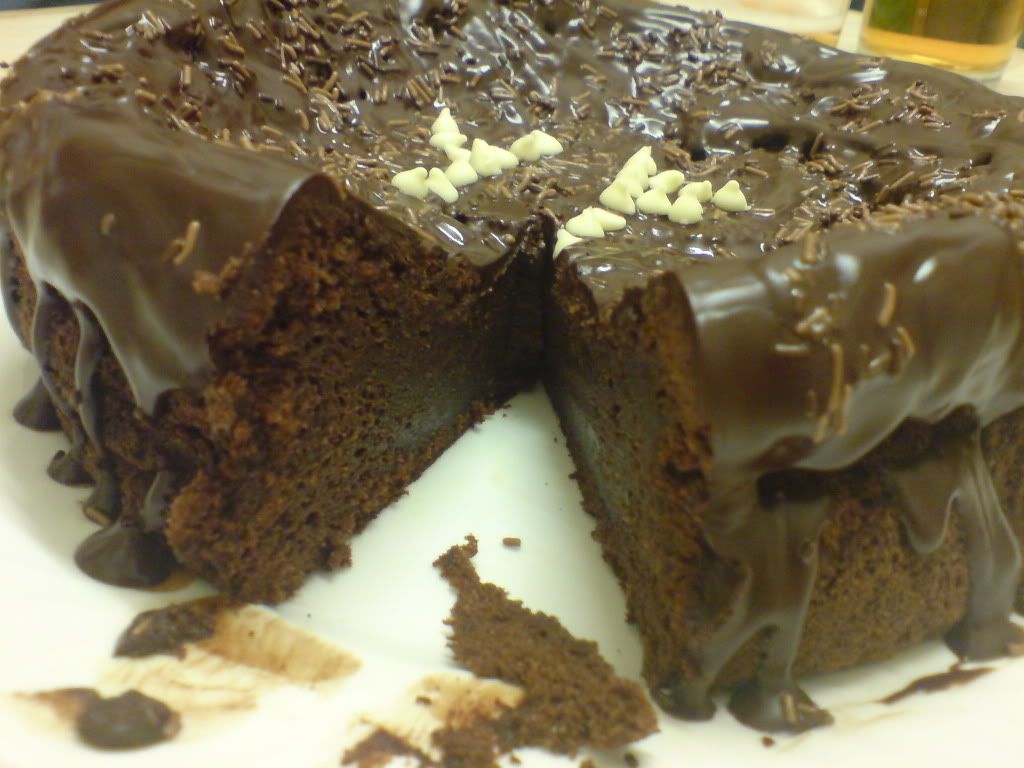
Coffee. Cheese. Chocolate. Mmm.
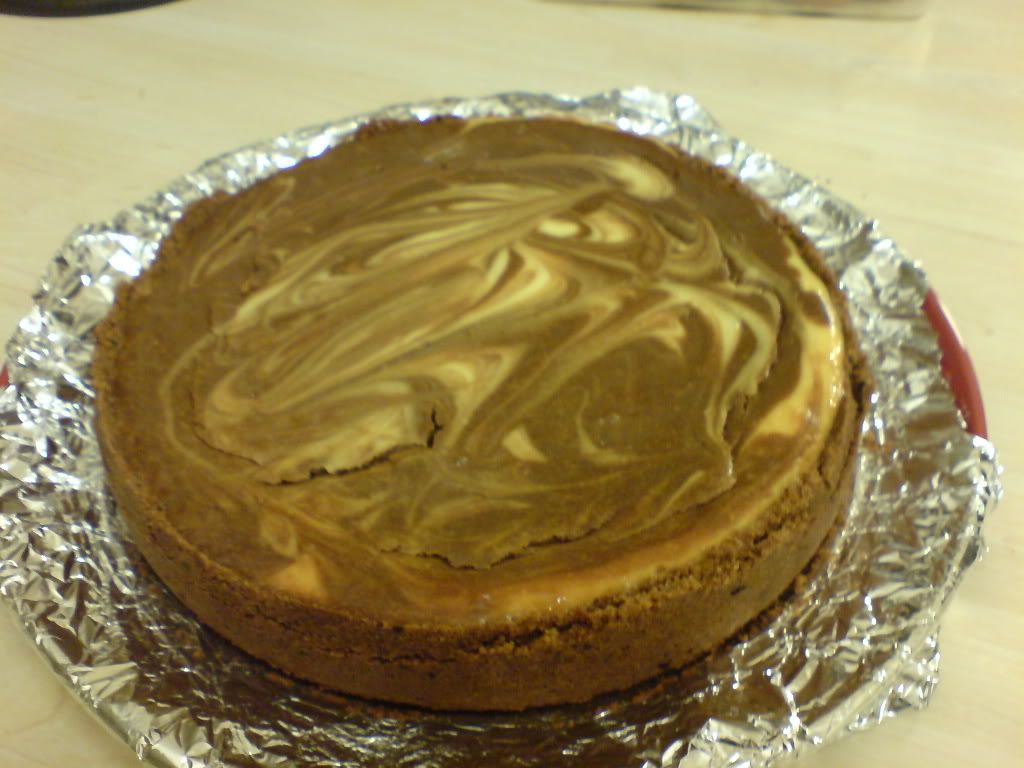
Mocha digestive crust, creamy cheese marbled with mocha swirls.
Mocha Marbled Cheesecake Recipe
Ingredients:
Biscuit base:
100g butter, melted
16 digestive biscuits
1 teaspoon instant coffee powder
2 tablespoons cocoa powder
Cheese filling:
600g cream cheese
50g milk chocolate, melted
1 tsp instant coffee powder mixed with 1 tablespoon hot water
80g caster sugar
1 teaspoon vanilla
2 eggs
Directions:
1. Preheat oven to 180C/160 fan-forced. Make biscuit base by putting coffee powder, cocoa and digestives in a bag and crushing the biscuits into crumbs. Mix crumbs well in melted butter and press into the base of a 9-inch springform cake tin. Press the crumbs about halfway up the tin as well, creating sort of a bowl-like effect. This part is a bit tricky, you don't want the crust to be too thick, or too thin that it crumbles. Bake crust in the oven for about 8 minutes, take out and leave to cool.
2. Next, prepare the cream cheese by beating the cheese, vanilla and sugar till well mixed. Add in the eggs one at a time, mixing well after each addition. Remove about 2/3 cup of cheese mixture, and stir this together with the melted chocolate and coffee.
3. Pour the plain cheese into the cooled crust. Next, drop spoonfuls of the mocha cheese over the plain cheese, making sure not to cover the plain cheese completely. Gently swirl the mixture to create a marbled effect.
4. Tap the tin on a table gently to level out the cheese. Steam bake cake for about 1 hour at 160C/140C fan-forced. Leave cake to cool in oven, then remove from tin and chill in the fridge before serving.
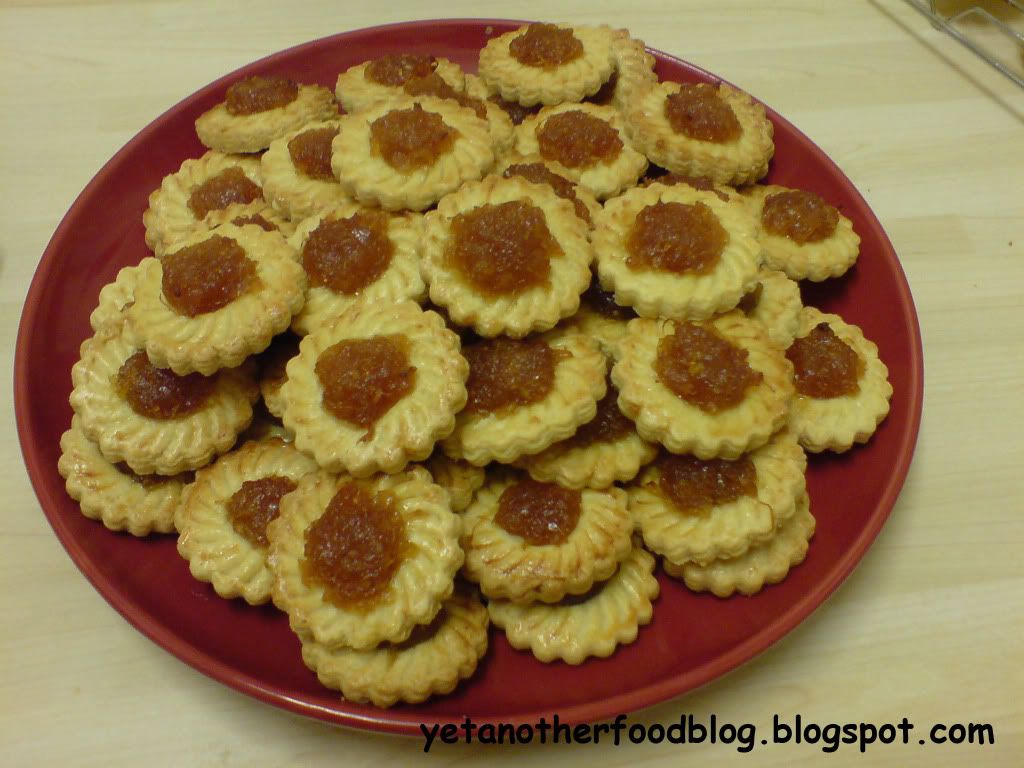
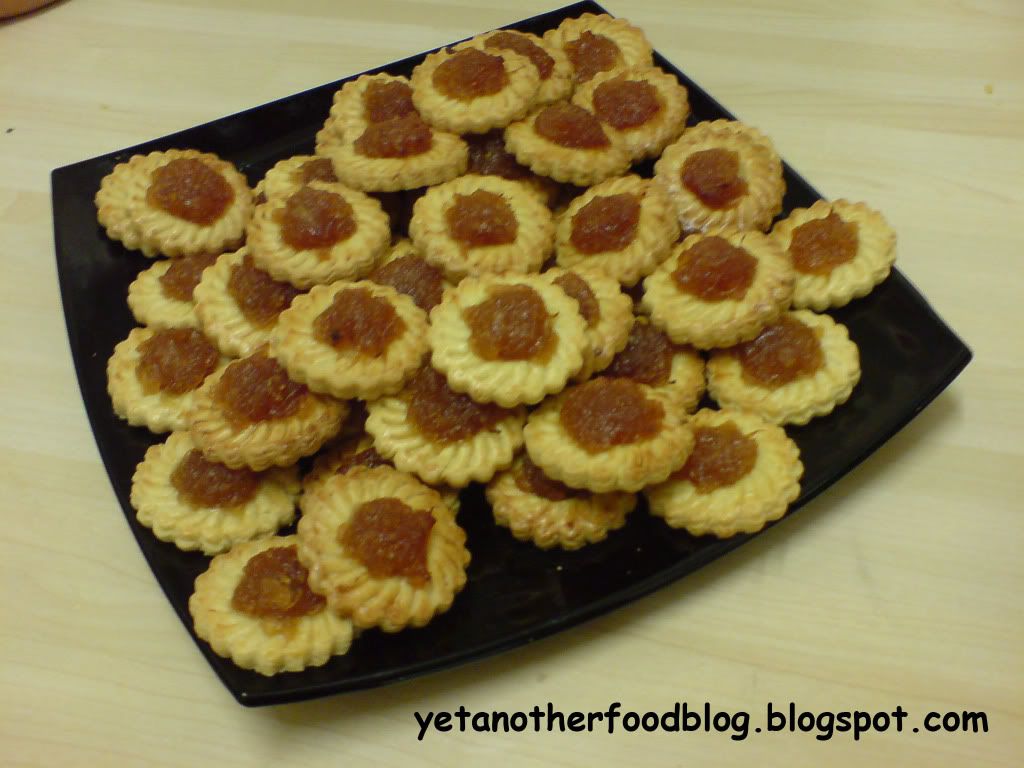
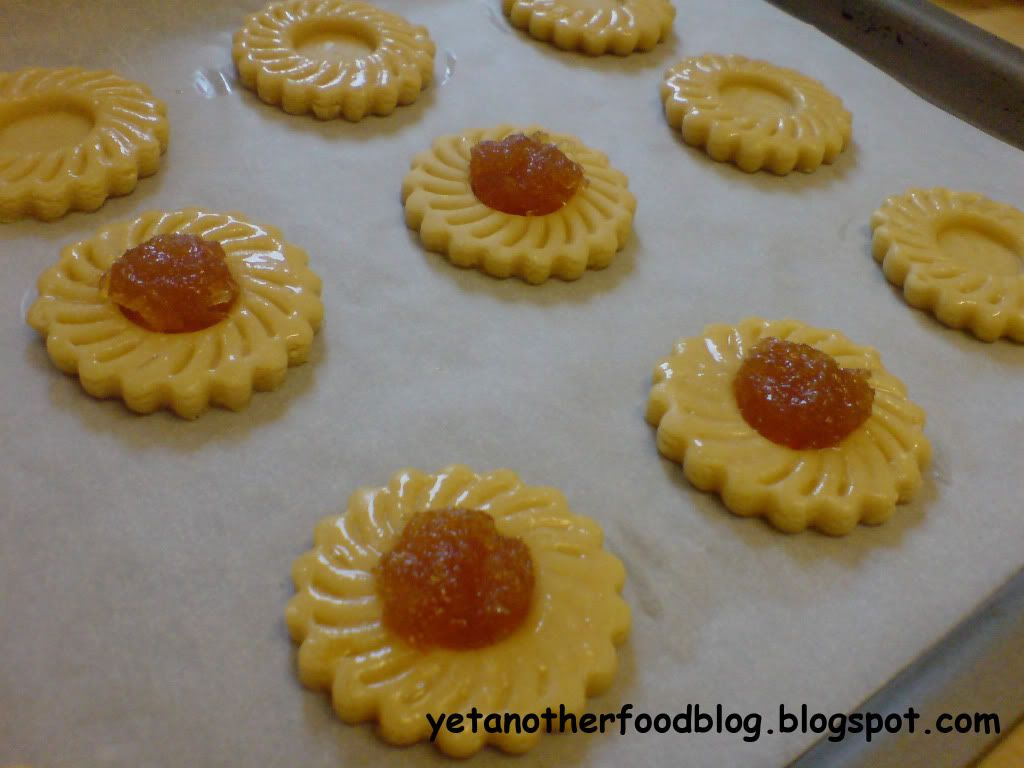
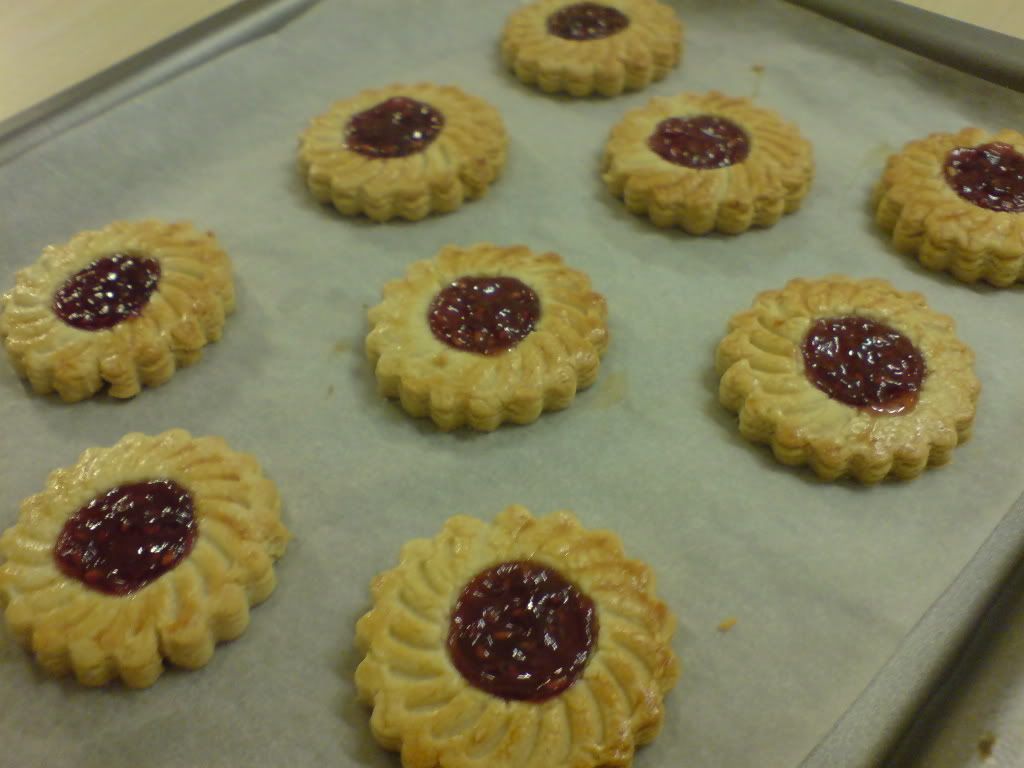
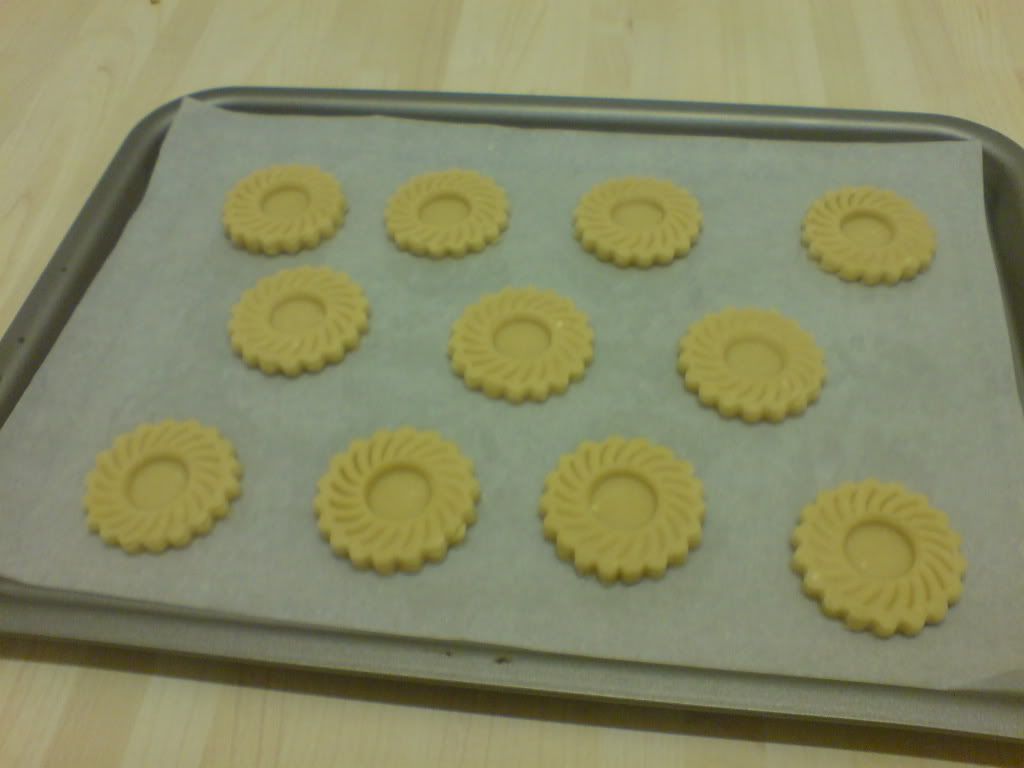
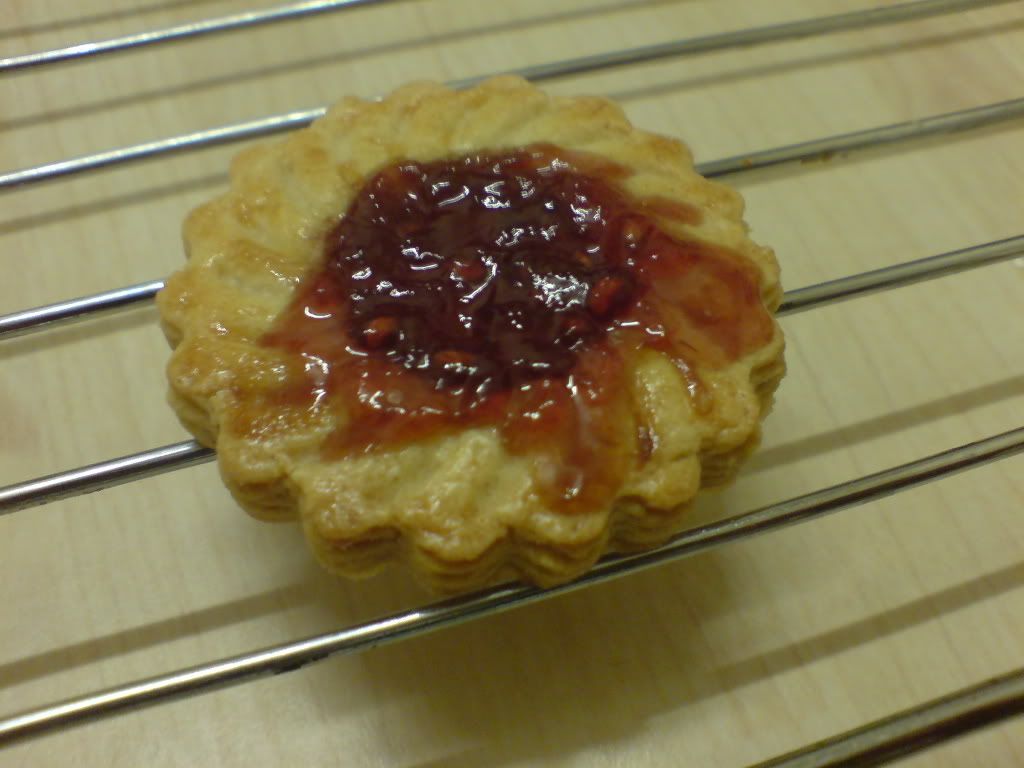
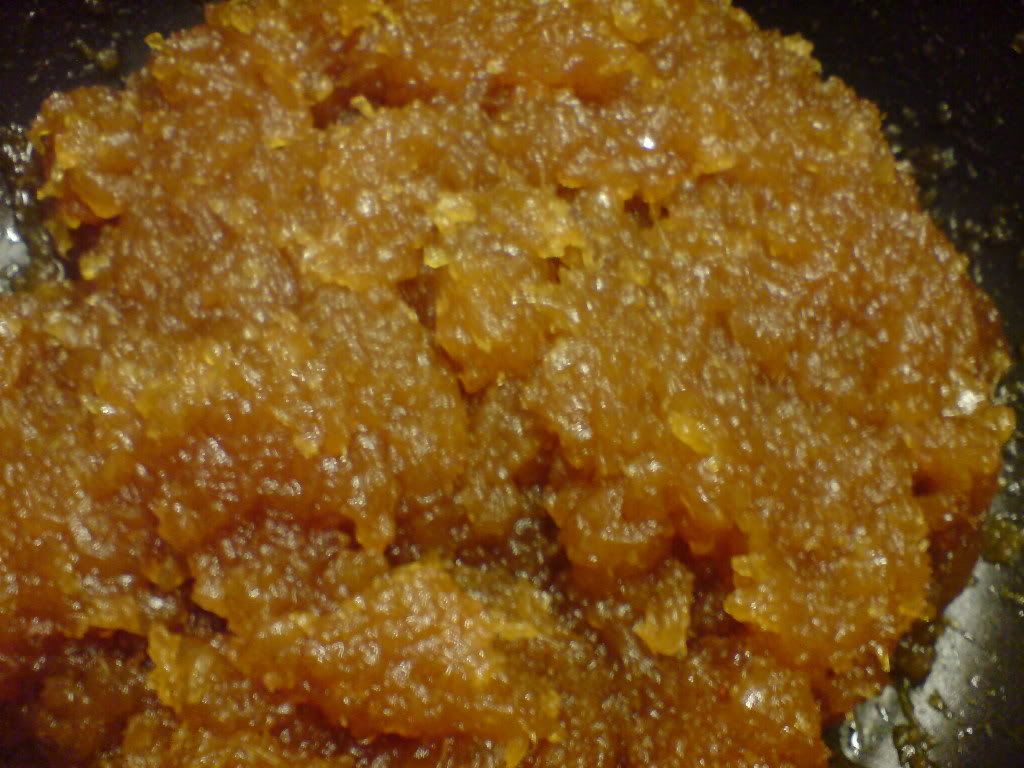
 Baked Pineappe Tarts.
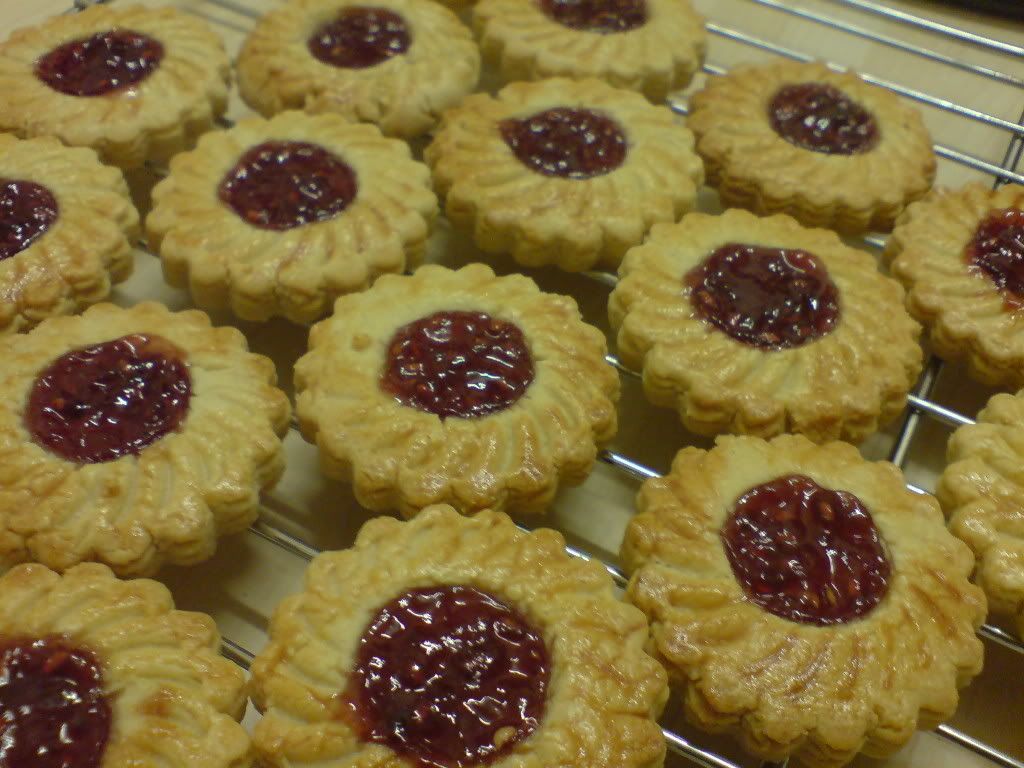
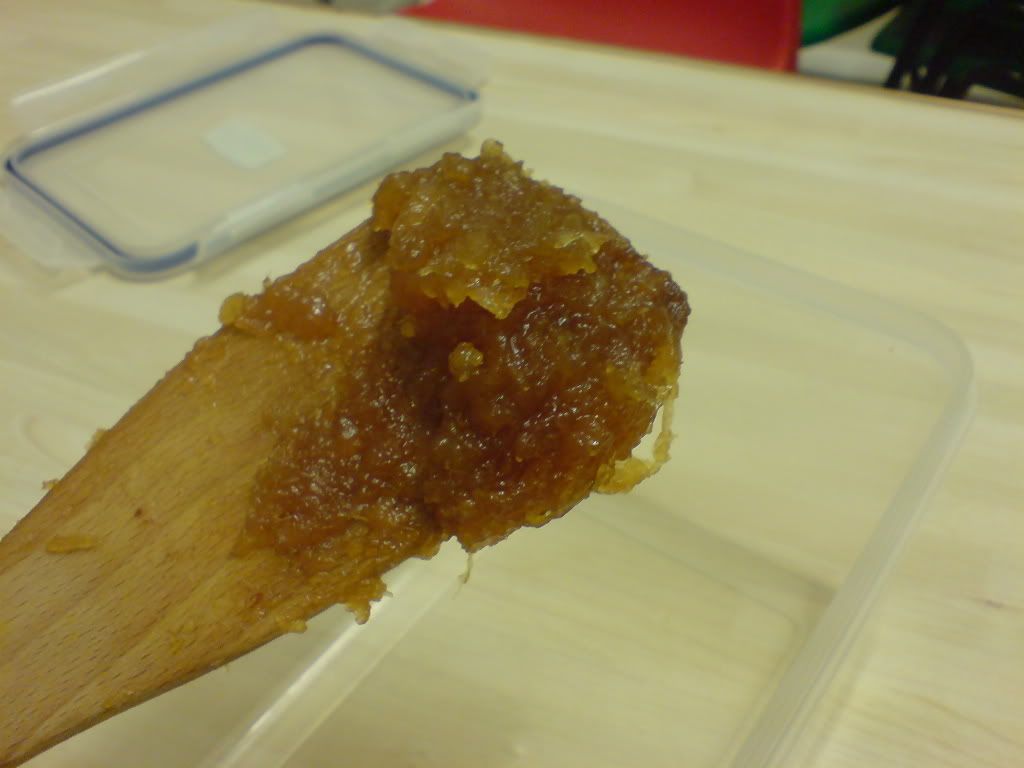
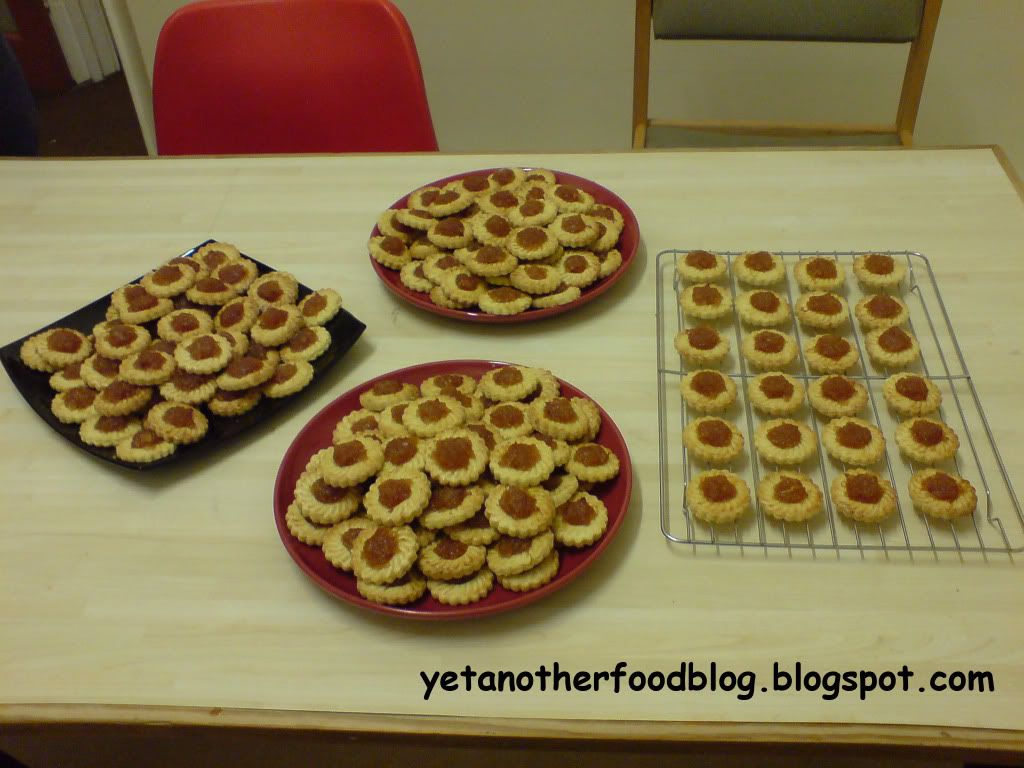 ONE HUNDRED AND NINETY SIX PINEAPPLE TARTS
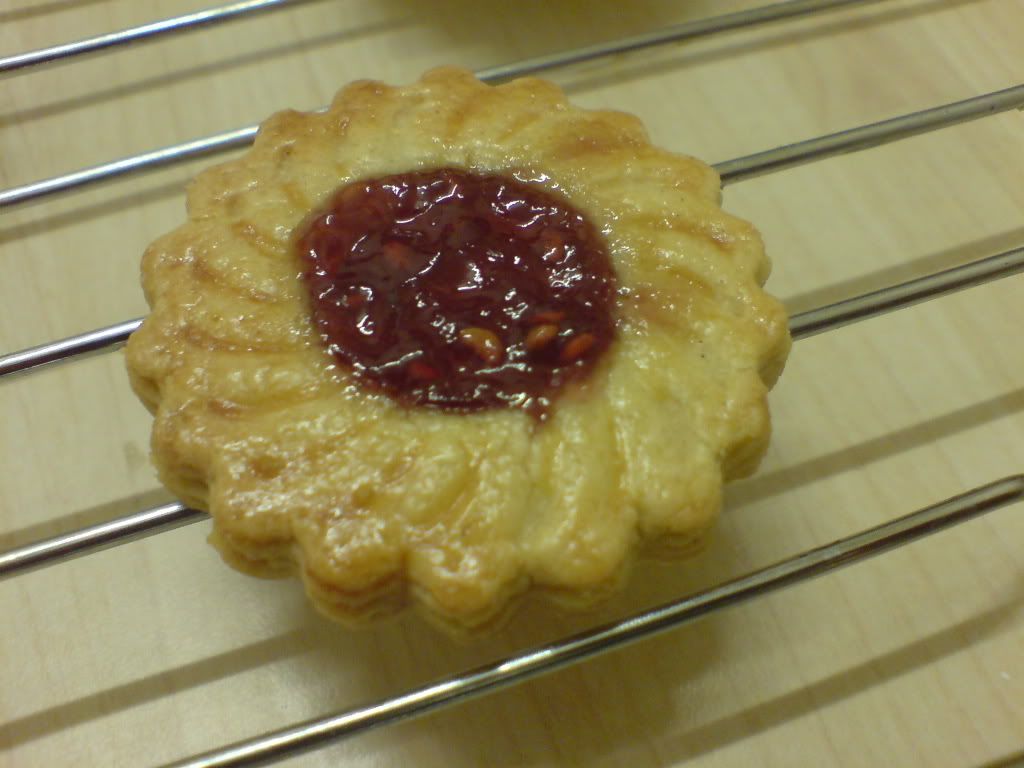
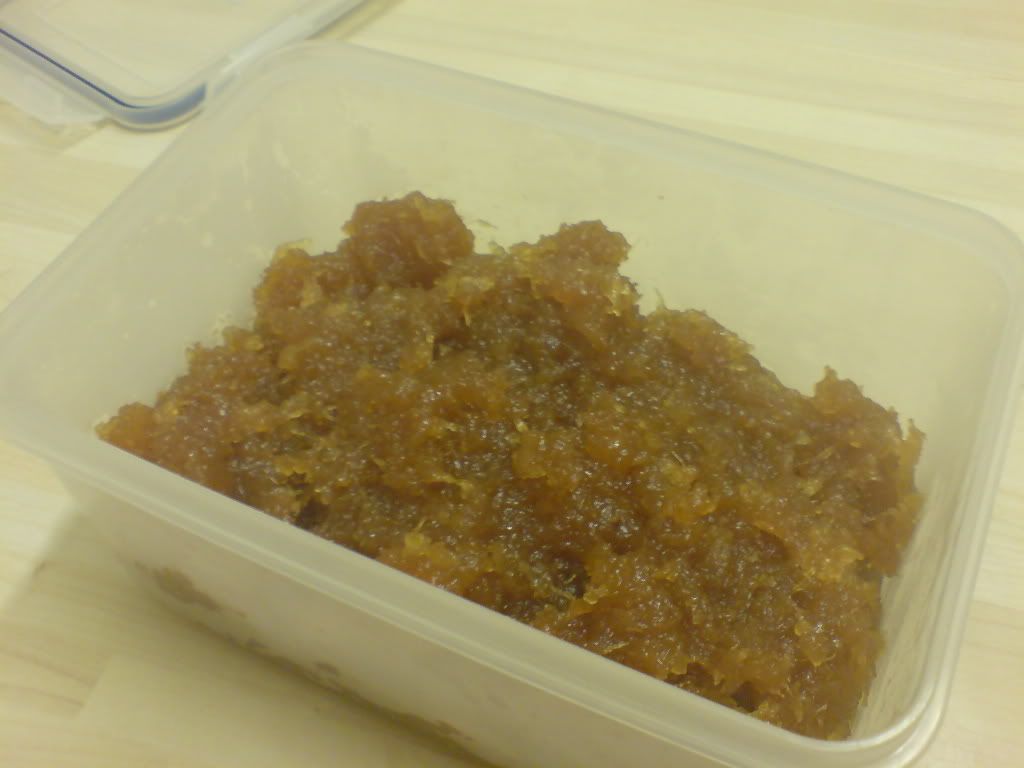
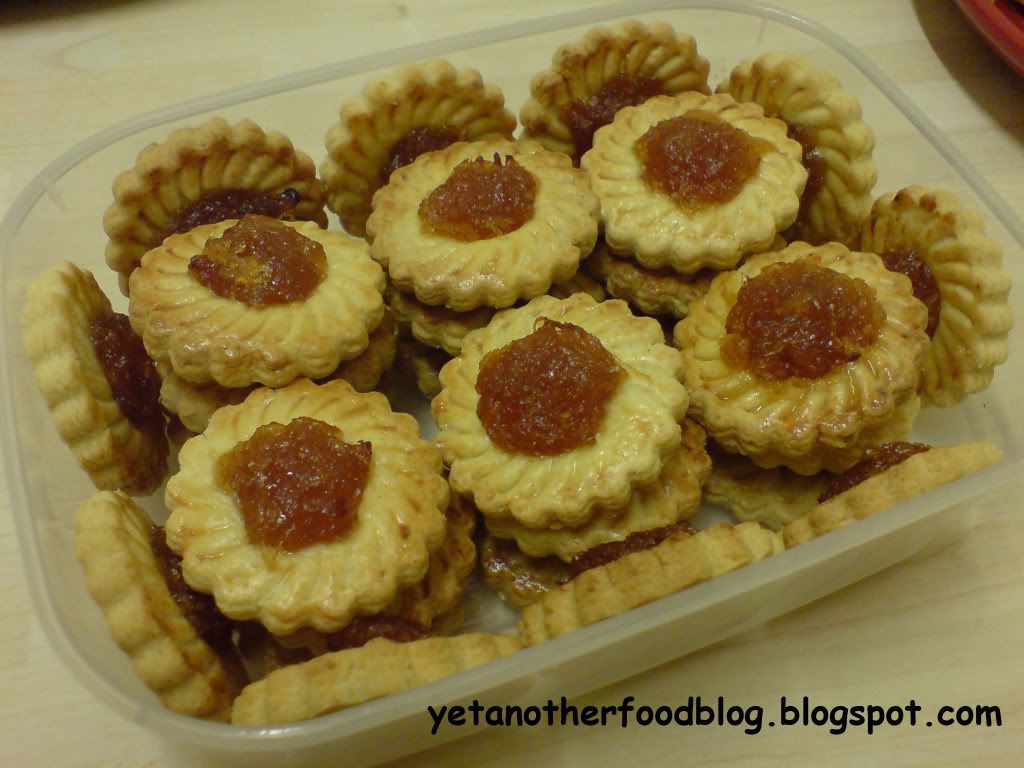 Pineapple Tarts in Boxes.
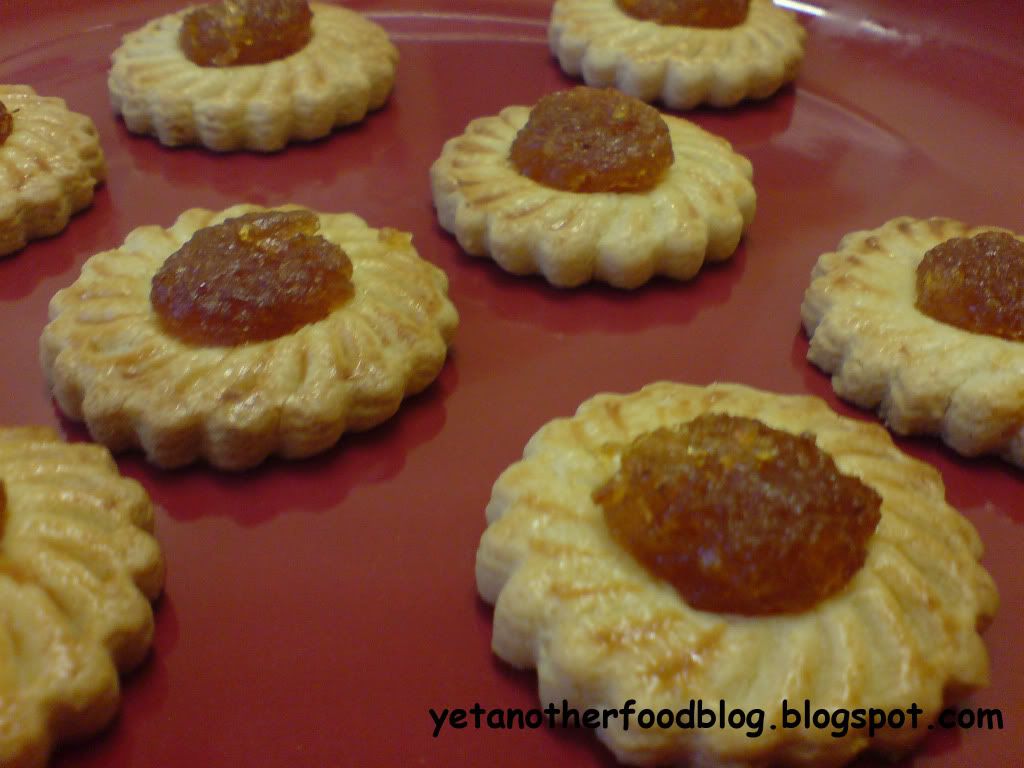 A parting photo of yes,